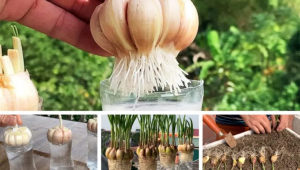
Urban gardening has become a well-liked method of promoting homegrown food and sustainability. Even everyday objects like plastic bottles can be turned into useful instruments in this process. The culinary and health benefits of garlic make it a prime choice for such novel cultivation techniques. In this article, we’ll look at how to germinate garlic using just a plastic bottle and some water before planting it in soil to grow.
Resources Required

Before beginning, make sure you have:
Garlic Cloves: Choose organic garlic cloves from your neighborhood farmer’s market or supermarket as non-organic ones can have been treated with chemicals that restrict development.
Plastic Bottle: A 2-liter soda or water bottle that is clean and transparent will do.
Water: The best water is clear and devoid of chlorine. If you can only get tap water, let it sit for 24 hours so the chlorine can vaporize.
To transplant your garlic after it has germinated, you will need high-quality potting soil.
Use a pot or a garden area to plant the sprouted garlic.
Seedling Process
Step 1: Prepare the bottles
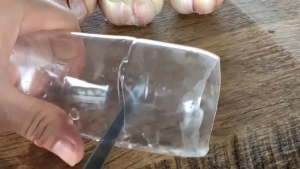
Leave roughly two thirds of the plastic bottle intact after cutting off the top so the garlic cloves can grow there. The bottle must be unscratched and without cracks or scratches.
Step 2: Choosing and preparing the garlic cloves
Pick garlic cloves that are big and healthy. Larger cloves usually result in larger bulbs. Peel the clove’s outer coat off gently so as not to harm the actual clove.
Positioning the Cloves in Step 3
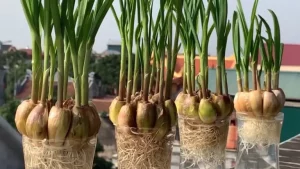
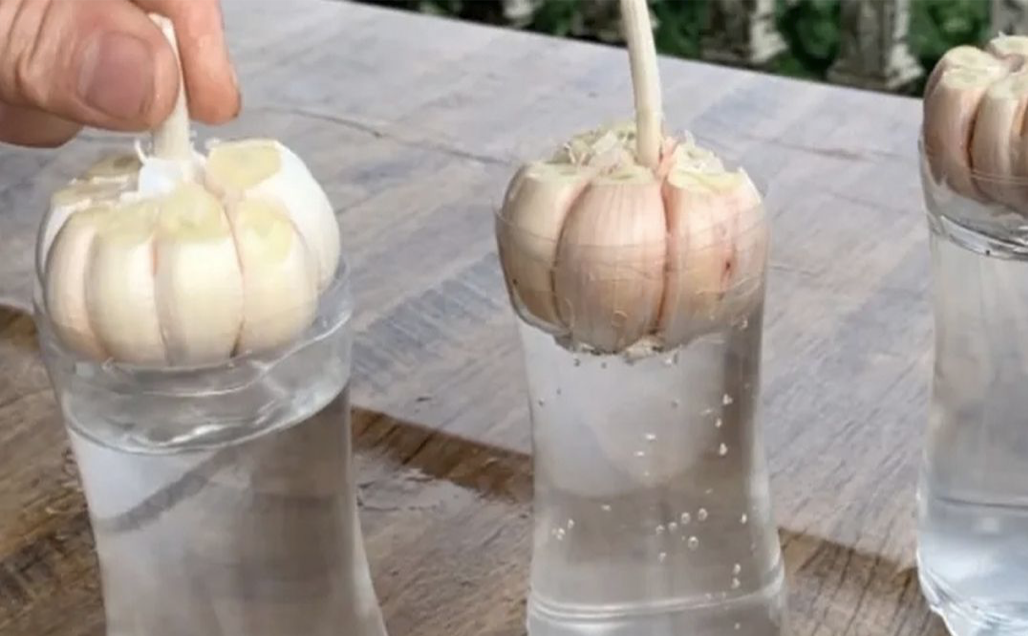
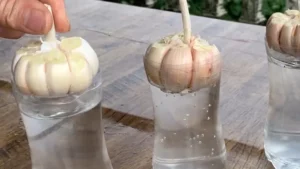
Make sure the flat end of the garlic cloves is pointing downward before placing them inside the bottle. The roots will come out of this end because it was closest to the bulb’s base. For growth, leave some room between each clove.
Fourth step: Watering
Water should be added to the bottle until the bottom half of the cloves are submerged. To avoid rotting, the top portion needs to remain dry.
Step 5: Positioning
Place the bottle in a bright area. Sunlight is essential for the healthy growth of garlic.
Step Six: Upkeep
Maintain the water level by checking it frequently to keep the roots buried. Every two days, change the water to avoid the growth of hazardous bacteria or fungi.
Seventh step: germination
The tops of the cloves will start to sprout green shoots, and the roots at their base will start to form in about a week. These indications of garlic germination success.
Soil transplantation
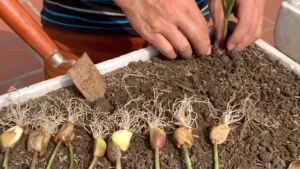
Step 8: Prepare the Soil
As soon as your garlic has begun to sprout, fill a container or a designated area of your yard with top-notch potting soil. The soil should have plenty of organic content and be well-draining.
9th step: transplant
Take care not to injure the roots as you take out the garlic cloves that have sprouted from the bottle. Place the cloves in the ground with the green stalks sticking out above the surrounding soil.
10th Step: Post-Transplant Care
Freshly transplanted garlic should be watered right once and on a frequent basis to maintain the soil consistently moist but not soggy. Keep the container or garden area in a spot that receives a lot of sunlight.
Harvesting
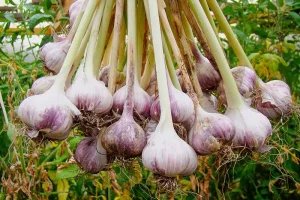
When the majority of the lower leaves have turned brown, usually after 7-8 months, the garlic is ready to be harvested. Depending on the particular garlic variety and the growing environment, the precise timing may change.
Garlic germination in a plastic bottle with water is not only environmentally friendly and practical, but it also offers an enjoyable and useful lead-up to soil planting. This technique provides a more seamless transition for the plant from germination to soil growth while reducing trash by reusing plastic bottles. Welcome to gardening’s joy, where even the tiniest efforts can result in the tastiest rewards.
